
Key Takeaways
- This can seamer troubleshooting guide starts with double seam inspection, containment, and measurement—not with turning an adjustment screw. First isolate potentially affected product, confi…
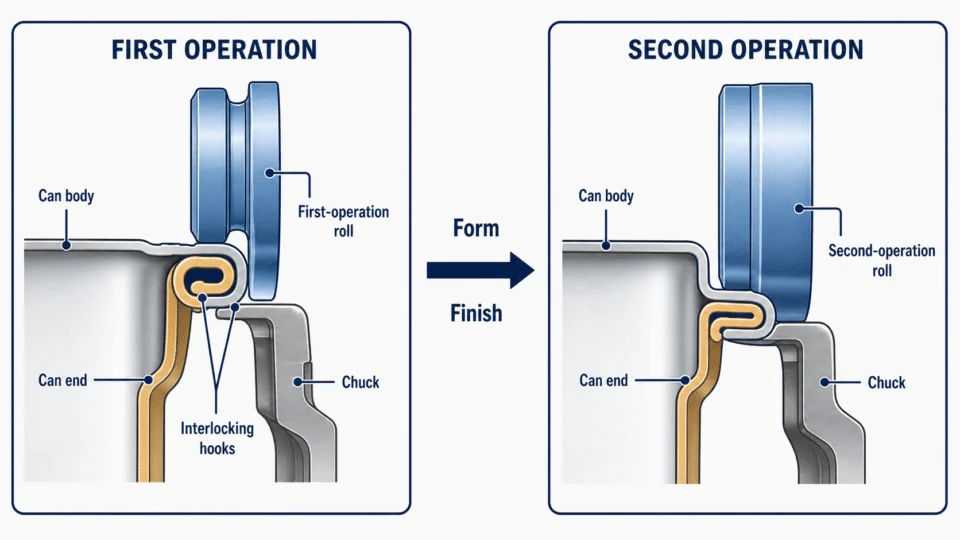
- The first operation forms the body-hook and cover-hook relationship. The second operation compresses and finishes that already formed structure. A poor first-operation seam cannot be repaire…
- Only trained and authorized personnel should make adjustments. Change one approved variable at a time, document it, produce new samples, and repeat the required visual, dimensional, teardown…
Quick Answer
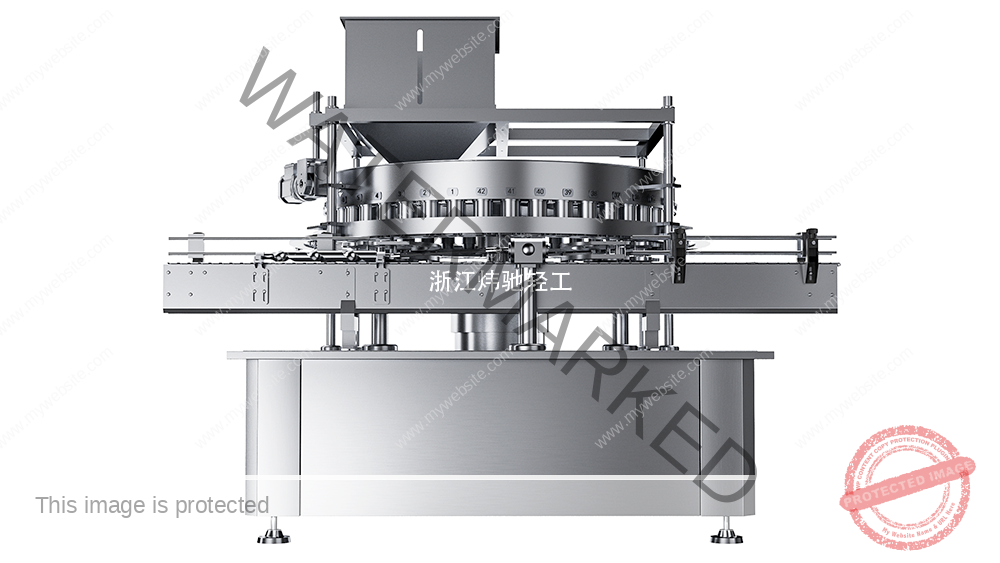
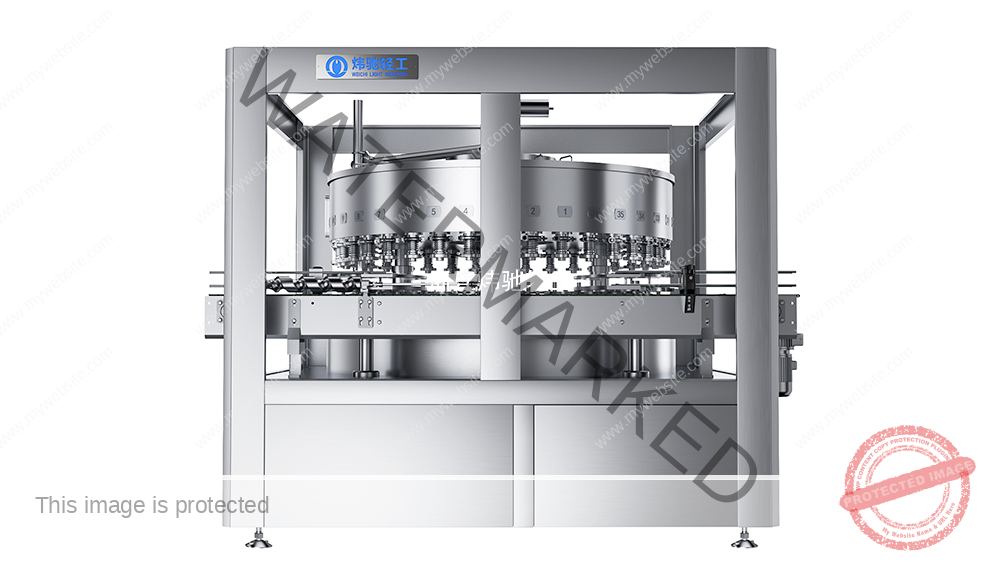
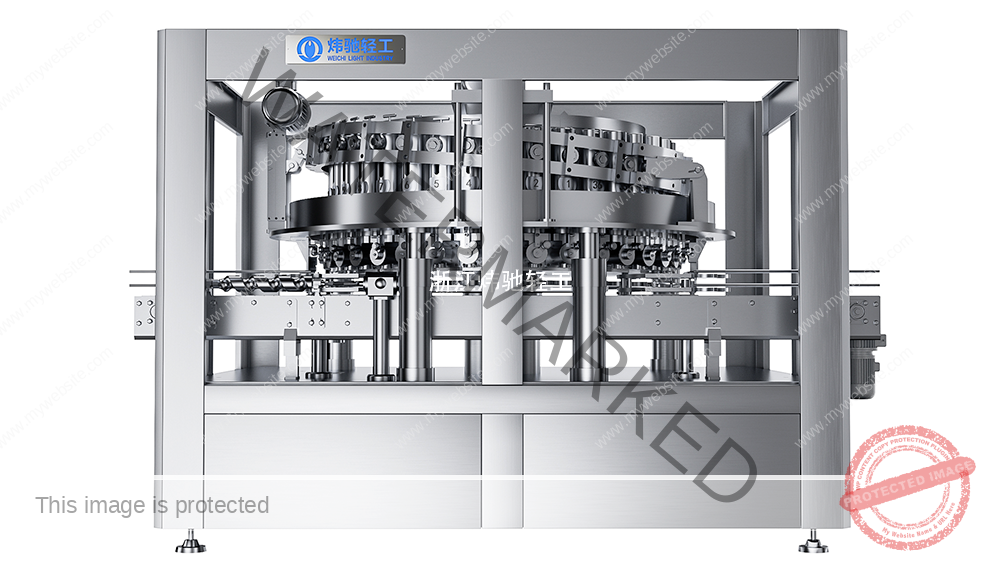
This can seamer troubleshooting guide starts with double seam inspection, containment, and measurement—not with turning an adjustment screw. First isolate potentially affected product, confirm the exact can body, can end, tooling, and approved seam specification, and identify the seaming head or station that produced the sample. Then use the defect evidence to determine whether the condition begins in the first operation, the second operation, or outside the seam settings altogether.
The first operation forms the body-hook and cover-hook relationship. The second operation compresses and finishes that already formed structure. A poor first-operation seam cannot be repaired reliably by adding more second-operation compression. Likewise, a damaged flange, distorted end curl, contaminated seam, worn chuck, slipping can, or alignment problem will not be solved by changing a nominal roll setting.
Only trained and authorized personnel should make adjustments. Change one approved variable at a time, document it, produce new samples, and repeat the required visual, dimensional, teardown, or cross-section checks before production is released. No universal number of turns, roll position, lift setting, or seam dimension is correct for every can seaming machine. Use the can and end supplier's specification and the exact machine and tooling manual.
For the inspection checks behind this diagnosis, see Double Seam Inspection for Beverage Cans. For the forming sequence, see how a can seamer creates a double seam.
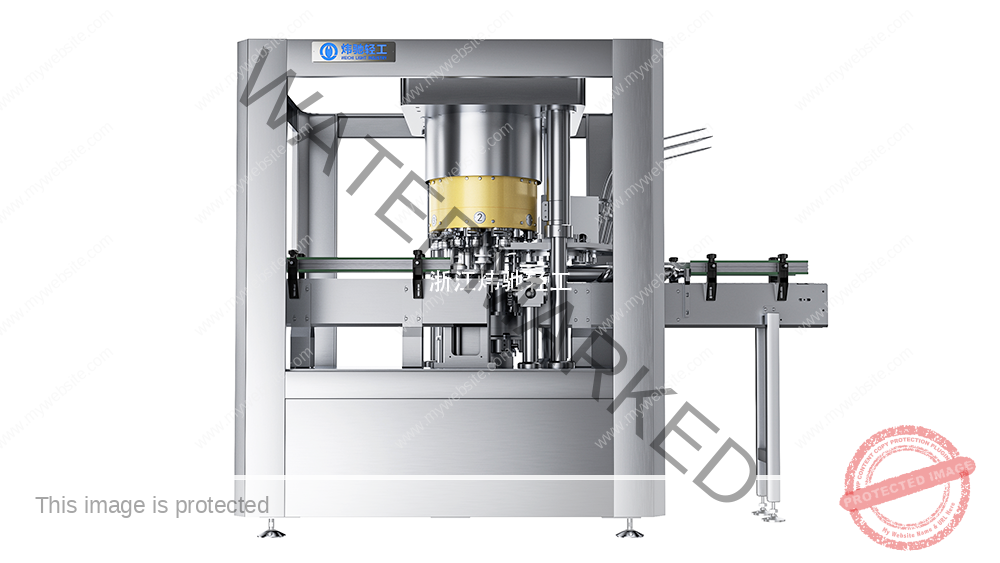
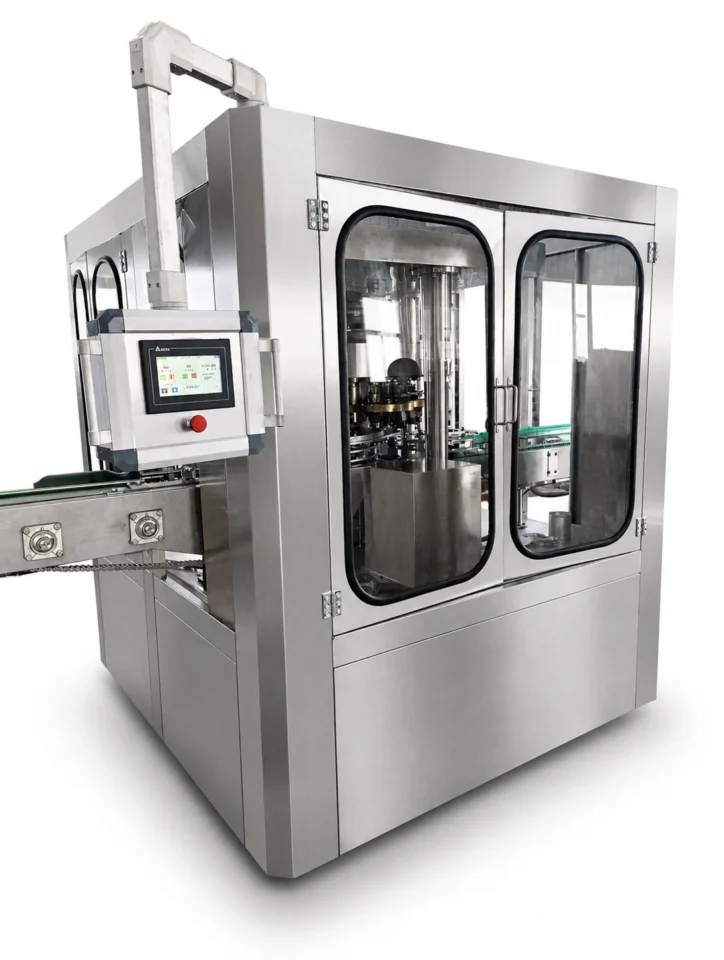
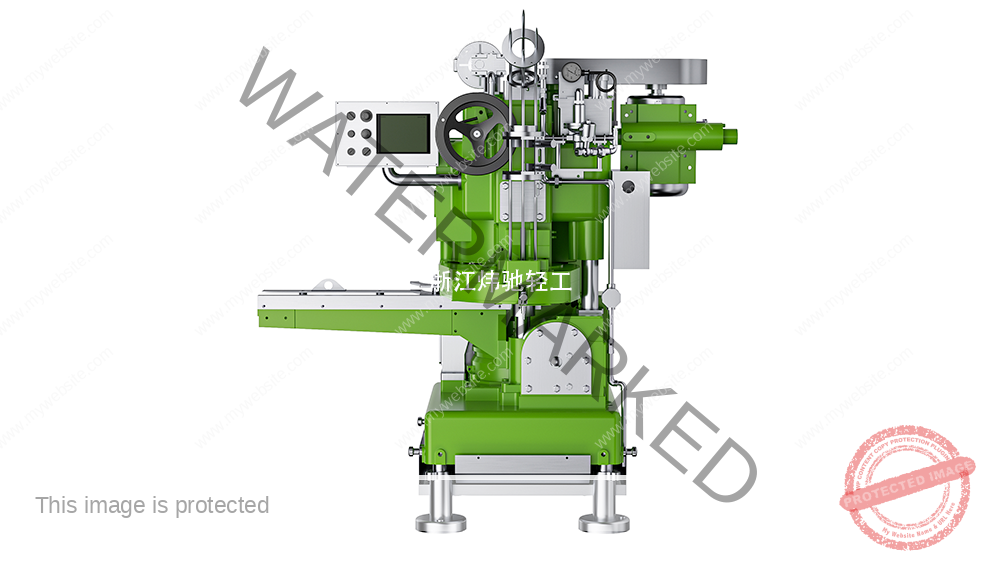
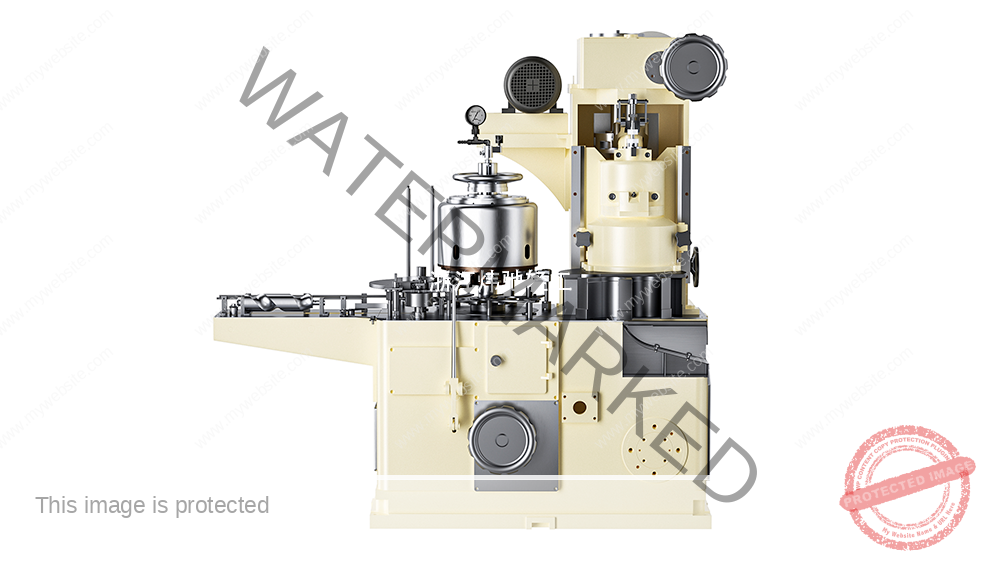
Planning equipment selection? Compare standalone models and prepare a fit-review enquiry after confirming the inspection basis below.
Why Can Seamer Adjustment Must Be a Controlled Process
A double seam is a system result. It is formed from the can-body flange, the end curl, the sealing compound, the chuck, the first- and second-operation rolls, the lifter or base plate, and the machine's centering and transfer motions. Changing a machine setting without checking the rest of that system can hide the original fault, create a second fault, and make the affected production interval harder to evaluate.
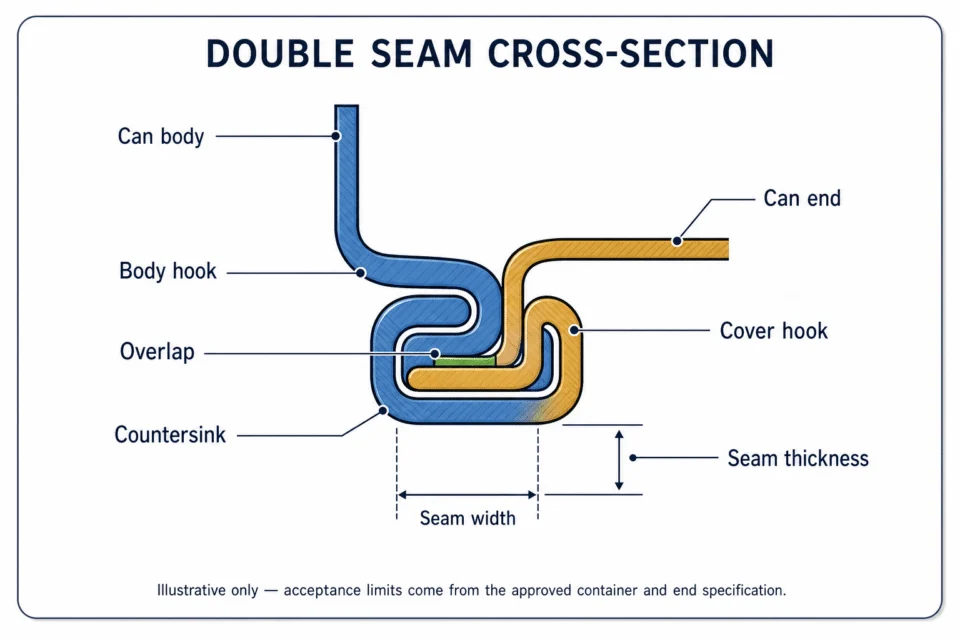
The purpose of adjustment is not to make the seam look tighter. It is to restore the complete closure to the approved condition: correct hook formation, sufficient overlap, accepted tightness and wrinkle condition, correct external geometry, sound material, and no disqualifying local defect. Excessive compression can be as harmful as insufficient compression because it may contribute to sharp seams, cutover, coating damage, or metal fracture.
This guide explains the decision logic for can seamer adjustment. It does not replace the manufacturer's service manual, the can supplier's seam standards, the plant's energy-control procedure, or the site's quality and product-disposition rules.
Before Any Adjustment: Safety, Containment, and Specifications
1. Control hazardous energy and access
If inspection or adjustment exposes a person to unexpected machine movement, stored energy, the seaming point, or another danger zone, follow the site's machine-specific energy-control procedure. In the United States, OSHA 29 CFR 1910.147 covers servicing and maintenance activities such as setting up, adjusting, inspecting, and maintaining machines when hazardous energy exposure can occur. Requirements in other jurisdictions may differ.
Do not remove guards, enter the seaming area, or attempt a first-operation setup check unless the procedure is authorized for that machine and effective protective measures are in place. The correct method for disabling the second operation, jogging the machine, or producing setup samples is machine-specific.
2. Isolate potentially affected product
Place the relevant product on hold under the site's quality procedure before changing the machine. The site must define the affected interval using its sampling history, machine and head traceability, component lots, events, and last accepted result. Do not assume that only the can where the defect was noticed is affected.
Record at least:
- Product, batch, date, and time.
- Can body and end specification and component lot.
- Seamer, head or station, and line condition.
- Last accepted inspection and first failed or suspect inspection.
- Defect location, measurement positions, and observed severity.
- Recent changeover, maintenance, jam, tooling change, or component change.
3. Confirm the approved closure specification
Before comparing measurements, confirm that the specification belongs to the exact can body and end being run. Nominal diameter alone is not enough. The closure specification may depend on material thickness, flange geometry, end curl, end profile, compound application, chuck and roll profiles, and the approved inspection method.
Use controlled documents for:
- Can-body drawing and flange requirements.
- Can-end drawing and curl requirements.
- Approved double-seam dimensions and acceptance criteria.
- Correct chuck, first-operation roll, and second-operation roll.
- Machine-specific setup and adjustment instructions.
- Sampling, inspection, escalation, and product-release rules.
If any of these are missing or conflicting, stop and resolve the document issue before attempting to "tune" the machine.
Diagnose the Source Before Changing a Setting
The most important can seamer adjustment decision is whether the observed condition is actually a setting problem. Begin with the evidence from the can, end, seam, tooling, and machine.
Check for non-parameter causes first
Many serious seam defects begin before the roll reaches the closure. Inspect for:
- Bent, mushroomed, split, or otherwise damaged body flanges.
- Dented, distorted, or mismatched end curls.
- Product, water, oil, metal fragments, or other foreign material in the seam area.
- Incorrect end placement or an end-feed problem.
- A can that is tilted, off-center, slipping, or unstable against the chuck.
- Worn, chipped, dirty, or incorrect chucks and rolls.
- Loose bearings, damaged roll followers, irregular motion, or head-specific play.
- Incorrect change parts or transfer timing that damages or mispositions the container.
- Inconsistent sampling or measurement technique.
Correcting these conditions may remove the defect without changing a seam setting. If the wrong tooling or component is installed, changing the roll position can make the resulting seam less predictable rather than more acceptable.
Decide whether the first operation is correct
The first-operation roll folds the end curl under the body flange and establishes the initial hook relationship. It controls how material is distributed for the finished seam and strongly influences body-hook and cover-hook formation, overlap potential, countersink relationship, and wrinkle development.
Inspect the first-operation seam during initial setup, after relevant tooling work, and when the defect pattern suggests a formation problem. Follow the machine manual for producing and inspecting a first-operation sample. The accepted profile is package- and tooling-specific; a generic illustration cannot define the target shape for every can.
Indicators that direct the investigation toward the first operation include malformed or imbalanced hooks, insufficient overlap potential, excessive or irregular first-operation wrinkles, droops or vees associated with poor formation, and variation related to end placement, centering, lift, or first-operation tooling.
Evaluate the second operation only after formation is confirmed
The second-operation roll compresses and finishes the layers created by the first operation. It influences final seam thickness, tightness, wrinkle condition, compound compression, and external finish. It does not create a missing interlock.
If the first operation, components, and mechanical condition are confirmed, the investigation may move to the second-operation roll, its profile and condition, its machine-specific position, chuck condition, and the supporting lift and alignment conditions. A loose seam may indicate insufficient finishing action, but increasing compression without verifying the first operation can create cutover or fracture while leaving the underlying hook problem unresolved.
| Diagnostic question | First-operation focus | Second-operation focus | Non-parameter focus |
|---|---|---|---|
| Are hooks formed and distributed correctly? | Primary | Cannot repair missing formation | Check flange, curl, end placement, and tooling match |
| Is overlap potential adequate? | Primary influence | Does not create missing overlap | Check component dimensions, damage, lift, and alignment |
| Is the finished seam loose or excessively tight? | Verify formation first | Primary finishing influence after formation is accepted | Check wear, contamination, slip, and measurement method |
| Is the defect localized at one point? | Check local formation and first-op tooling | Check local roll or chuck condition | Check product inclusion, flange/curl damage, and centering |
| Does one head trend differently? | Check that head's first-op system | Check that head's second-op system | Check bearings, chuck, lifter, timing, and maintenance history |
What to Inspect on the Seaming Head
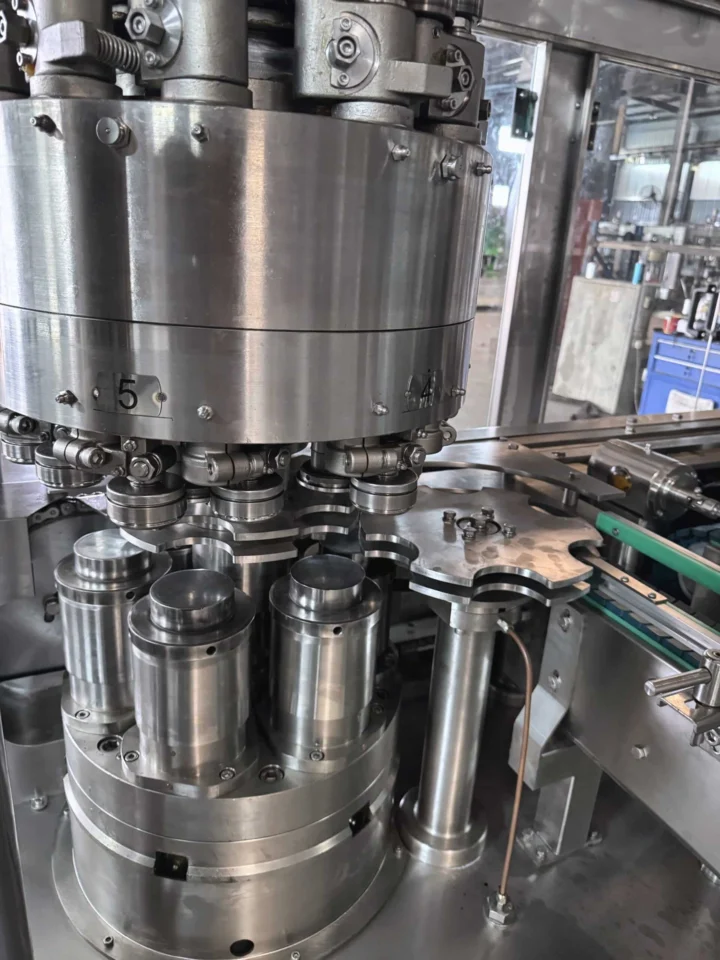
Chuck
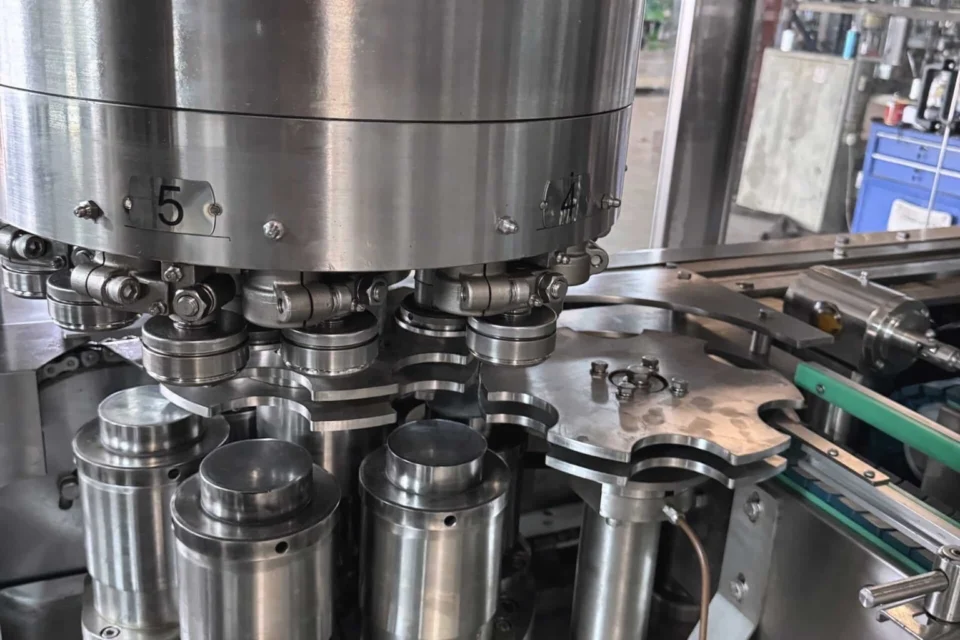
The chuck supports the end and provides the working reference against which the rolls form the seam. Confirm the correct profile, cleanliness, surface condition, fit, and alignment. Look for wear, damage, buildup, or evidence that the can or end is not held consistently. A worn or mismatched chuck can alter seam geometry around the circumference and across heads.
First-operation roll
Confirm the specified roll profile and inspect the groove, bearings, follower, mounting, and movement. The roll must form the package smoothly and consistently. A worn groove, incorrect roll, irregular travel, or machine-specific setup error can distort the hook relationship before the second operation begins.
Second-operation roll
Inspect the profile, groove condition, bearings, mounting, and movement. Roll marks, sharp conditions, excessive compression, or inconsistent finish may direct attention here, but only after the first-operation seam is accepted. Do not treat second-operation pressure as the universal correction for a bad seam.
Lifter or base plate
The lifter or base plate supports and centers the can against the chuck. Check the correct change part, condition, movement, alignment, and any machine-specific lift requirement. Insufficient or unstable support can contribute to slip, incomplete formation, seam variation, or head-to-head differences. Excessive or incorrect lift can also distort components or overload the closure system.
Transfer, end feed, and alignment
Observe how the can and end reach the seaming position. Feed screws, stars, guides, clinching devices, end separators, and timing elements can damage a flange or curl or present the package off-center. A seam adjustment should not be used to compensate for a handling fault.
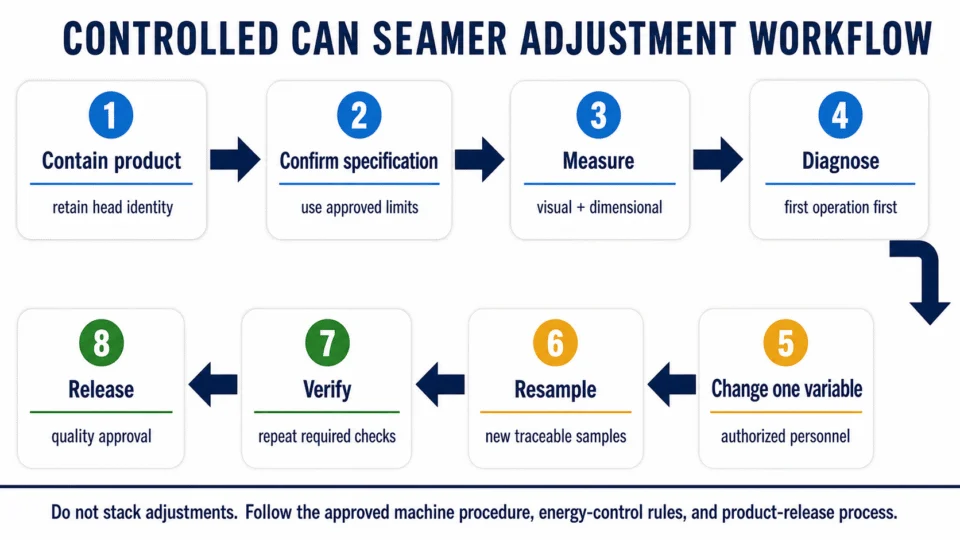
Step-by-Step Can Seamer Adjustment Workflow
Step 1: Define the problem precisely
Use a defect name only as a starting description. Record where the condition appears, whether it is continuous or localized, which head produced it, and which measurements or teardown observations are out of the approved condition. Photograph or retain representative samples under the site's procedure.
Step 2: Verify the measurement system
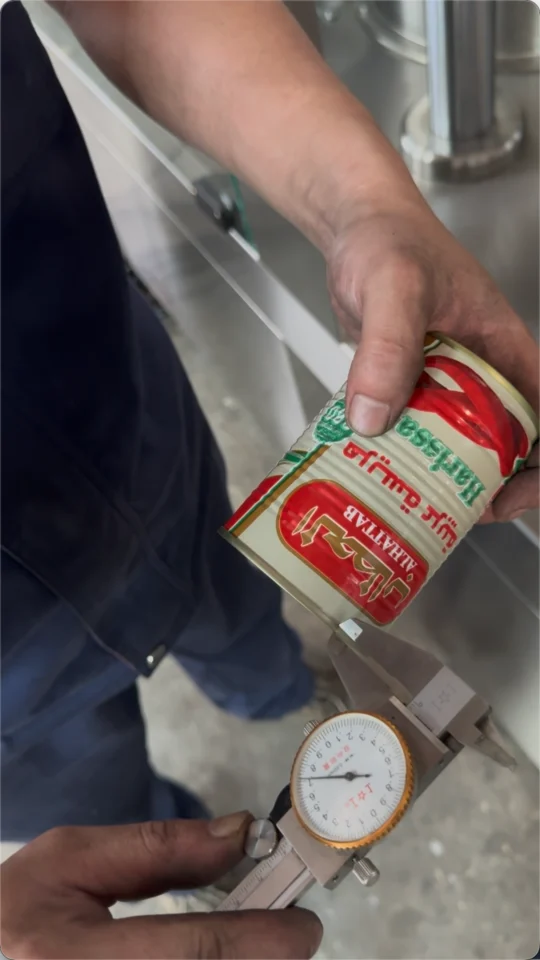
Confirm instrument calibration, zero, gauge type, sample preparation, measurement position, and inspector technique. Recheck a retained or reference sample when the quality plan provides one. Measurement variation can imitate machine drift and lead to unnecessary adjustment.
Step 3: Inspect components and handling
Check the can flange, end curl, compound area, component identity, end placement, cleanliness, and transfer path. If the defect follows one lot, format, or handling event, resolve that evidence before changing the roll system.
Step 4: Inspect the finished seam and identify the affected head
Conduct the required full-circumference visual inspection and external measurements. Preserve head or station identity. If one head differs while the others remain stable, focus the mechanical investigation on that head instead of changing a common machine setting.
Step 5: Check the first operation under the authorized procedure
Produce and inspect a first-operation sample only as directed by the machine manual and site safety procedure. Compare its shape and measurements with the approved setup standard. If the first operation is not acceptable, correct the component, tooling, lift, alignment, or authorized first-operation variable before evaluating the finished seam again.
Step 6: Check the second operation after the first operation passes
When the formed interlock is acceptable, evaluate the finished seam for the approved thickness, tightness, wrinkle condition, external geometry, pressure ridge or other required attributes. Inspect the second-operation tooling and supporting mechanical conditions. Adjust only the variable identified by the machine-specific procedure.
Step 7: Change one authorized variable at a time
Record the original state, the variable changed, the direction and machine-specific amount, the person making the change, and the time. Do not change roll position, lift, timing, and component setup simultaneously. Multiple changes destroy the cause-and-effect evidence and make reversal difficult.
Step 8: Produce new samples and complete the full verification
After the machine is returned to an authorized operating condition, make new samples and repeat the required inspection plan. A single visually acceptable can is not sufficient proof. Verify all affected heads or stations and the required positions, and include teardown or cross-section examination when the plan requires it.
Step 9: Release product only through the quality process
Document the accepted results, disposition of held product, corrective action, and approval. The person who makes the mechanical change may not be the person authorized to release product. Follow the site's defined responsibilities.
Common Double Seam Problems and the Correct Inspection Direction
| Observed problem | What it means | First checks | Adjustment direction only after checks |
|---|---|---|---|
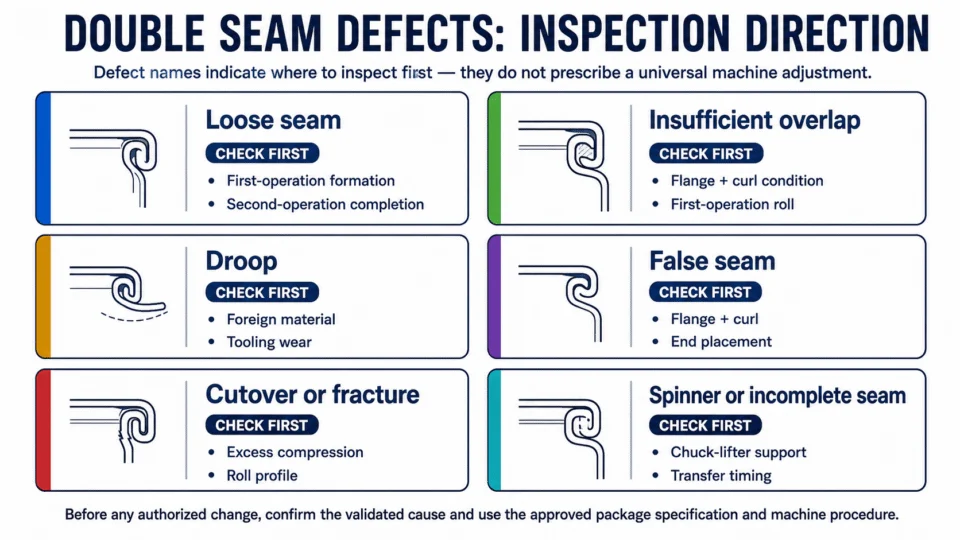
| Loose seam | Finished seam is not compressed to the approved condition | Verify first-operation formation, seam thickness and tightness method, tooling condition, lift, contamination, and chuck support | Evaluate the authorized second-operation setting only if formation and mechanics are confirmed |
| Insufficient overlap | Hooks do not meet the approved overlap requirement | Check actual or calculated overlap method, first-operation formation, body flange, end curl, tooling match, lift, and damage | Correct the identified formation or component cause; do not add second-operation pressure as a substitute |
| Droop | Local projection of the end hook below the normal seam profile | Inspect for product or foreign material, compound distribution, flange/curl damage, first-operation condition, body-hook length, and worn tooling | Correct the verified local cause and recheck overlap and tightness at the defect location |
| False seam | Part of the body flange fails to interlock with the end hook | Check bent or mushroomed flange, damaged curl, foreign material, end placement, and can alignment | Correct component handling or alignment; roll-pressure changes do not create the missing interlock |
| Cutover or fractured seam | Metal is sharply weakened, cut, or fractured near the seam radius | Stop uncontrolled adjustment; inspect excessive compression, long hook formation, material damage, compound or product inclusion, and tooling condition | Reduce or correct only the verified machine-specific cause, then inspect for metal damage and package disposition |
| Spinner, skidder, or incomplete seam | Can/end slips or the seaming action is incomplete or irregular | Check chuck grip and condition, lift support, contamination, end placement, drive, roll motion, and transfer | Restore positive control and complete motion before seam-setting changes |
| Head-to-head variation | One station trends differently from the others | Preserve head identity; compare chuck, rolls, bearings, lift, alignment, setup, and maintenance | Correct and verify the affected head instead of masking it with a common change |
The Canadian Food Inspection Agency's public metal-can defect guide shows why defect names do not point to one universal correction. For example, it lists component damage, foreign material, misalignment, compound distribution, first-operation condition, and worn tooling among possible sources for different defects. The actual classification and response must still follow the applicable package and quality standards.
How to Verify the Adjustment
Full-circumference visual inspection
Inspect the complete seam for droops, vees, sharp edges, cutover, incomplete formation, damage, contamination, leakage, and any machine- or package-specific defect. A defect may be localized between routine measurement points, so visual inspection is not limited to the positions used for dimensional checks.
External dimensional measurement
Measure the attributes required by the approved plan, which may include seam width or length, seam thickness, and countersink. Use calibrated tools and controlled reference points. A dimension inside its limit does not by itself prove that the internal hooks and overlap are acceptable.
Teardown and internal evaluation
Where required, teardown exposes the body hook, cover hook, wrinkle condition, pressure ridge, compound distribution, and overlap-related characteristics. Mark measurement locations before teardown so internal observations correspond to external results. Avoid distorting the hooks during sample preparation.
Cross-section or seam-scope examination
A prepared cross-section allows direct evaluation of seam geometry and actual overlap at the selected point. Use the specified section locations and preparation method. One cross-section represents only one position; additional sections may be needed at visible defects or other required points.
Confirm repeatability, not just one passing sample
Check the number of samples, heads, positions, and operating conditions specified in the quality plan. Review the results as a set. A stable, repeatable result across the required checks is stronger evidence than one passing measurement immediately after adjustment.
Adjustment Records That Support Root-Cause Control
A useful adjustment record should include:
- Product, can and end specifications, and component lots.
- Machine, head or station, date, time, and operating state.
- Defect description and photographs or retained-sample reference.
- Measurements before adjustment, including measurement positions.
- Inspection of components, chuck, rolls, lifter, transfer, and alignment.
- First-operation findings where examined.
- The single variable changed and its previous and new machine-specific state.
- Measurements and observations after the change.
- Scope and disposition of held product.
- Names or roles of the technician, inspector, and release authority.
These records help distinguish recurring component problems, head-specific wear, maintenance drift, and measurement issues. They also prevent technicians from repeating an unsuccessful change because the earlier result was not documented.
Common Adjustment Mistakes to Avoid
- Adjusting before holding affected product. This allows suspect output to continue and weakens traceability.
- Assuming every loose seam needs more second-operation pressure. The first operation, components, lift, chuck, wear, or measurement method may be the real cause.
- Changing several variables at once. The result cannot be attributed to one cause and may be difficult to reverse.
- Using settings copied from another can, end, machine, or head. Similar nominal sizes do not prove identical closure geometry or tooling requirements.
- Inspecting only one position or one head. Local defects and head-specific drift can be missed.
- Relying only on a leak or pressure test. Supplemental package tests may not reveal every geometric defect or explain its cause.
- Ignoring damaged components and contamination. No adjustment can restore a flange or curl that never entered the seam correctly.
- Releasing production after one good-looking sample. Release requires the documented inspection and approval defined by the quality plan.
FAQ
Can I fix a bad first-operation seam by tightening the second operation?
No. The second operation compresses the layers created by the first operation; it cannot reliably create missing hook formation or overlap. Confirm and correct the first operation, components, tooling, lift, and alignment before optimizing the second operation.
How much should I move a seaming roll?
There is no safe universal answer. The adjustment mechanism, direction, scale, backlash, limits, and verification method are machine-specific. Use the exact seamer manual, tooling instructions, and approved setup record. If those documents are unavailable, stop and obtain them.
Which double seam inspection result should guide an adjustment?
Do not choose a setting from one measurement alone. Begin with the defect pattern and the complete inspection result: visual condition, external dimensions, hook formation, overlap, tightness, and mechanical evidence. Identify the cause before selecting an authorized variable.
Why does only one seaming head produce bad seams?
Head-specific variation can point to local chuck or roll wear, bearings, lift condition, alignment, setup, timing, contamination, or maintenance history. Preserve sample identity by head, compare it with stable heads, and verify that head after corrective work.
What should be checked after changing cans or ends?
Confirm the exact component drawings and lots, tooling and change parts, end feed, flange and curl condition, centering, lift, first-operation seam, finished seam, and all inspections required for startup or changeover. Do not assume compatibility from nominal diameter alone.
Does an acceptable seam thickness prove the seam is good?
No. Thickness is useful, but it does not by itself prove hook formation, overlap, tightness, compound condition, or the absence of a localized false seam or droop. Use the combination of checks in the approved plan.
When should the first-operation seam be inspected?
Common triggers include initial setup, a format or relevant component change, installation of new seaming tooling, re-adjustment, maintenance, and troubleshooting of formation or overlap problems. The machine manual and site procedure must define the safe method.
Who should authorize production release after an adjustment?
The site's quality system should define release authority. Mechanical correction and product release are different responsibilities. Production should resume for sale or further processing only after required samples pass and the designated person approves the result.
Conclusion
Effective can seamer adjustment is a controlled diagnostic process. Contain the potentially affected product, verify the exact package specification, rule out damaged components and mechanical faults, inspect the first operation before relying on the second, and change only one authorized variable at a time. Then produce new samples and complete the required visual, dimensional, teardown, or cross-section checks before release.
This sequence protects both seam quality and the evidence needed to understand what actually changed. It is more reliable than chasing one dimension or copying a setting from another package.
About Weichi
Weichi provides can seaming equipment for beverage and food can production. If you are evaluating an automatic can seaming machine, prepare the confirmed can and end drawings, product conditions, required output, line interfaces, and inspection requirements. Send those application details for a configuration review.
Technical References
- Canadian Food Inspection Agency, "Metal can defects: identification and classification": https://inspection.canada.ca/en/preventive-controls/controls-food/metal-can-defects
- Crown, "Seaming": https://www.crowncork.com/aerosol-food-packaging/essentials/seaming
- U.S. Food and Drug Administration, "Bacteriological Analytical Manual Chapter 22A: Examination of Metal Containers for Integrity": https://www.fda.gov/food/laboratory-methods-food/bam-chapter-22a-examination-metal-containers-integrity
- U.S. Food and Drug Administration, "Guide to Inspections of Low Acid Canned Food Manufacturers: Part 3": https://www.fda.gov/inspections-compliance-enforcement-and-criminal-investigations/inspection-guides/guide-inspections-low-acid-canned-food-manufacturers-part-3
- U.S. Occupational Safety and Health Administration, "29 CFR 1910.147 — The control of hazardous energy (lockout/tagout)": https://www.osha.gov/laws-regs/regulations/standardnumber/1910/1910.147
Technical Basis and Project Evidence
Final equipment selection and acceptance must use the project product, can and end drawings, utility conditions, line interfaces, agreed test duration, and documented FAT/SAT criteria. Can and end supplier specifications remain authoritative for double-seam limits.
- U.S. FDA: Low-Acid Canned Food Manufacturers, Part 3 — Containers and Closures
- SAMR record: GB/T 30639-2014 — Sauce filling and seaming equipment
- SAMR record: GB/T 40360-2021 — Still-beverage can filling and seaming equipment
Review equipment families See project references Submit application data